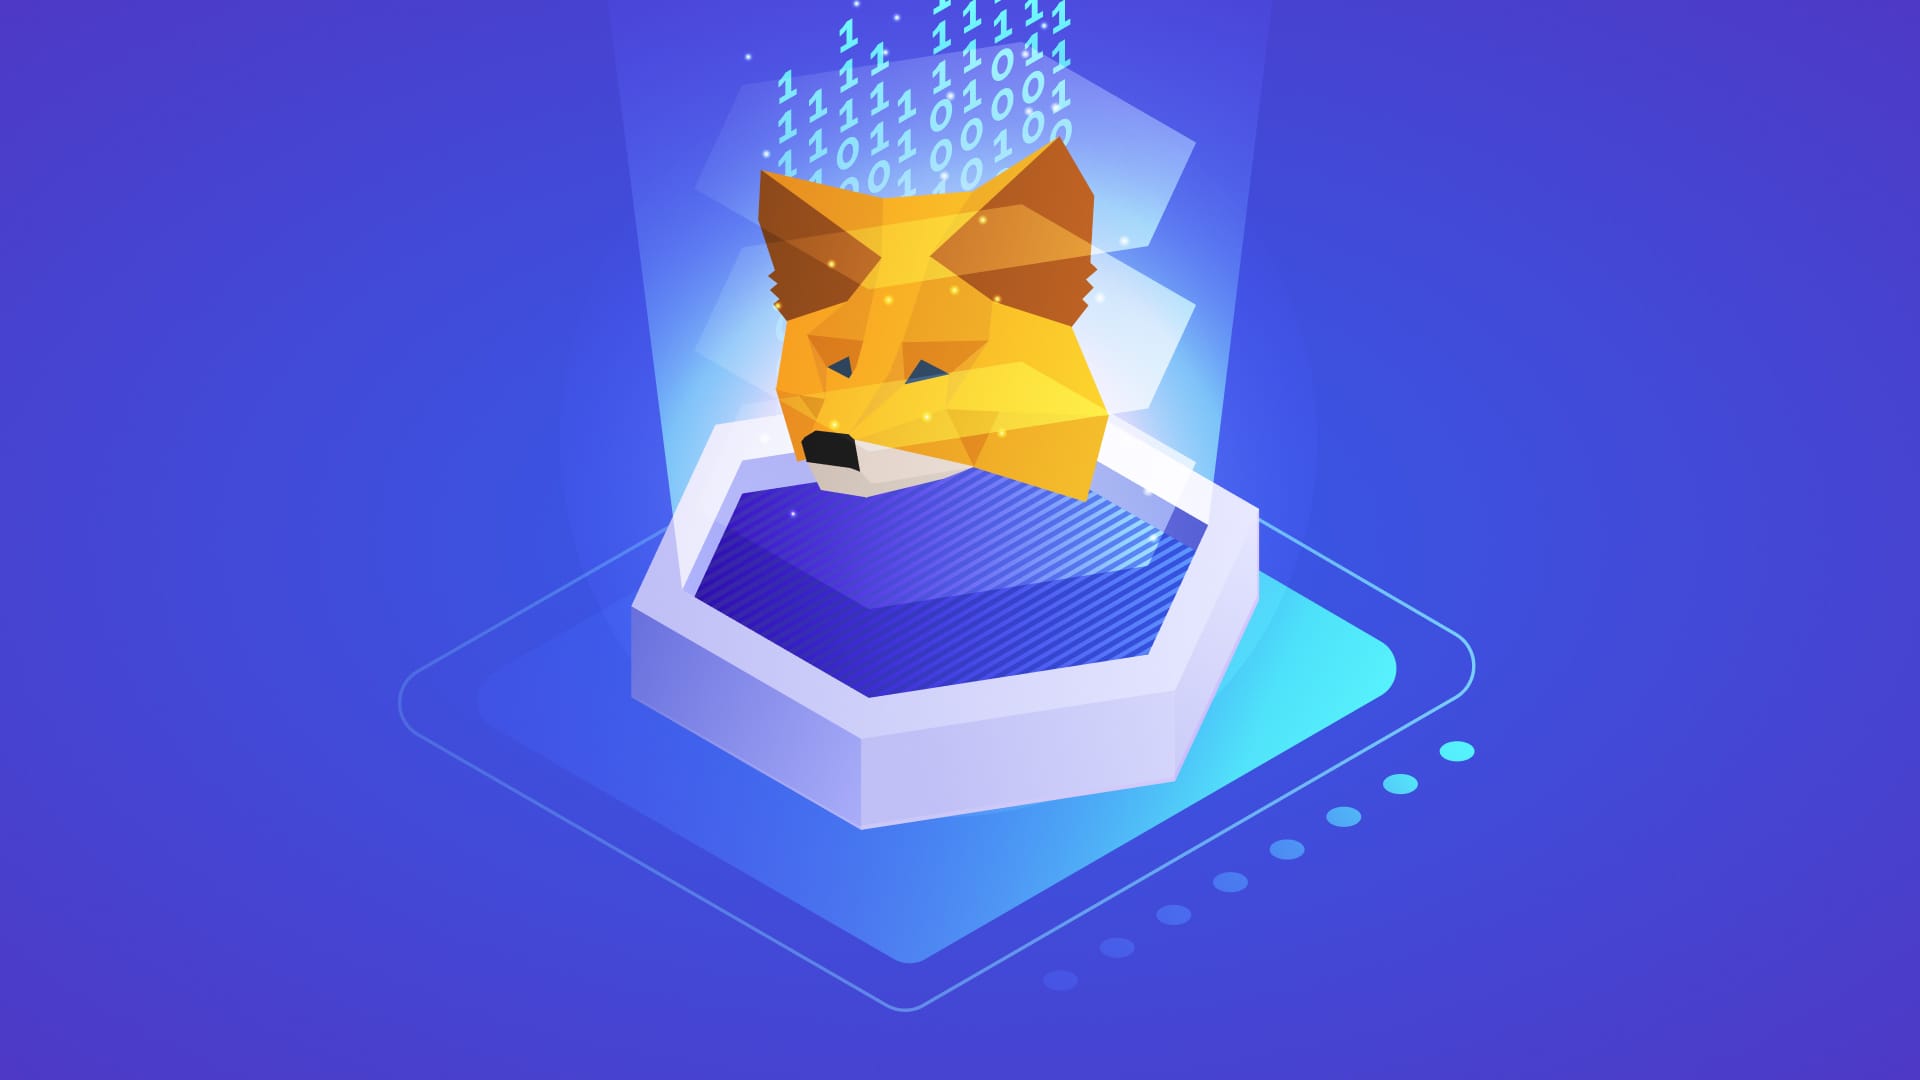
If you are ready to explore the exciting world of decentralized applications and digital assets, you will need a reliable key to unlock the door. That is exactly what MetaMask provides. It is one of the most popular digital wallets in the cryptocurrency space, acting as your personal passport to the Web3 ecosystem. Whether you want to trade on decentralized exchanges, explore new play to earn games, or collect digital art, this tool makes it all possible. While it was originally built for the Ethereum network, it now supports a wide variety of blockchains and Layer 2 solutions like Polygon and Arbitrum.
Setting Up Your Digital Wallet
Getting started is surprisingly simple and only takes a few minutes. You can install the wallet as a browser extension on Chrome, Firefox, or Brave. If you prefer to manage your assets on the go, there is also a mobile app available. The most critical step is ensuring you download the software directly from the official MetaMask website or your device app store. This helps you avoid falling victim to clever phishing scams that use fake logos to steal private keys.
Once the installation is complete, the software will guide you through creating a new account. You will need to choose a strong and unique password. More importantly, the system will generate a secret recovery phrase. This specific sequence of words is the absolute only way to recover your funds if you ever forget your password or lose access to your device. You must write this phrase down on a physical piece of paper and store it securely offline. Never share these words with anyone.
Navigating Your New Dashboard
When you open the extension, you are greeted by a clean interface displaying your Ethereum balance in both ETH and USD. From this main screen, you have quick access to essential features like buying, sending, swapping, and bridging your tokens. You can easily toggle between different views to check your cryptocurrency holdings, view your digital collectibles, or monitor your recent account activity.
If you need a more comprehensive look at your assets, you can launch the Portfolio view. This opens a dedicated webpage packed with advanced management tools. The extension menu also includes a handy network switcher, allowing you to seamlessly hop between Ethereum and other compatible networks with just a few clicks. You can even set up frequently used addresses in your address book for quicker transactions.
Funding Your Account and Exploring Dapps
Your wallet will naturally be empty when you first create it. To start interacting with the blockchain, you need to add some funds. You can purchase cryptocurrency directly within the app using the built in buy feature, which offers various payment methods using standard fiat currency depending on your geographic location. Alternatively, you can receive assets from another account by copying your public ETH address or generating a unique QR code from the account details section.
With your account funded, the decentralized web is entirely open to you. When you visit a decentralized application like Uniswap or Decentraland, you will usually see a prompt on their landing page to connect a wallet. Simply select MetaMask from their list, enter your password, approve the connection request, and you are ready to trade or play.
Advanced Features and Integrations
As you become more comfortable, you can start exploring some of the advanced features integrated directly into the platform. For maximum security, you can easily link physical hardware wallets like Ledger or Trezor. This allows you to interact with decentralized apps while keeping your digital assets safely offline in cold storage.
Digital art enthusiasts will appreciate the native OpenSea integration, which lets you view your collectibles right inside the wallet interface. Furthermore, if you want to put your assets to work, the Portfolio view offers seamless ETH staking options through trusted providers like Lido Finance and RocketPool.